Yesterday was a big day for cooking and baking around here. I made FOUR recipes (two I'd made previously, two that were new to me) that I found on Pinterest. The one I'm going to share today is for Inside-Out Carrot Cake Muffins.
I decided to cut this recipe in half since we are a household of 2 and don't need a dozen yummy treats hanging around. Want? Sure. Need...probably not.
The batter. This recipe was simple to whip up. I didn't even need to haul out the mixer! Even better, all of the ingredients where items that I normally keep on hand. There were a couple of optional ingredients (Fiori di Sicilia and coarse white sparkling sugar) that I didn't use.
Fresh from the oven! I ended up with 7 muffins and had some filling leftover as well. I popped it into the fridge. It'll probably be delicious on graham crackers or gingersnaps! As you can see, the filling sort of oozed out of the top of the muffins for me. I don't think my tins were as deep as the ones the recipe creator used.
Ready to sample.
I couldn't resist cutting one open to see what the inside was like. It looks like I might have put a little too much batter on the bottom, causing the filling to ooze out the top. Something to remember for next time.
And there will definitely be a next time. These are really yummy. Not as super duper sweet as carrot cake. I like that I can make a small amount and that they don't have to be frosted like cupcakes. Ed hasn't gotten the chance to try one. He'd better hurry, otherwise I might eat all of them myself...
Showing posts with label baking. Show all posts
Thursday, November 29, 2012
Monday, August 15, 2011
Homemade Olive Garden Breadsticks
YES. I am on such a "homemade" kick this summer. I've made coffee concentrate, homemade yogurt (I'm still tweaking the consistency, but once I've perfected it I'll write a blog post), and even a version of Boursin cheese. The texture wasn't the same (Boursin is more crumbly, this was smoother), but man-o-man was it delicious on crackers. When I stumbled upon a recipe for Olive Garden breadsticks on Pinterest (are any of you guys there? Come find me, and we can follow one another!), I knew I had to give them a try.
Now, I know there may be some of you that are thinking "Olive Garden! Pshh. That's not real Italian food. How. Dare. You." I am great lover of fine food. When I go on vacation, my favorite part is trying new restaurants. I have eaten in some pretty swanky joints, let me tell you. Know what else I like to do? Eat Olive Garden breadsticks. You can't tell me they're not delicious, authentic Italian or not.
aaand fresh from the oven!
I must say, they turned out very well. The texture was pretty spot on, even if I shaped them to be a little thick (note to self: dough rises and expands.) Next time I will follow Sandra's advice and cut back on the salt. They turned out a little browner on top than I wanted them to, but they were still soft rather than crunchy. Over all, I'd say this recipe is a definite keeper. I've made OG salad dressing and stuffed mushrooms, have the recipe for their Mozzarella Fonduta (YUUMMM), and now, their famous breadsticks. Those are pretty much my 4 favorite things on their menu. I may never set food in an Olive Garden again. Thank you, Sandra of Full Bellies, Happy Kids!
Tuesday, May 10, 2011
Popovers!
Popovers make me think of Little Women. Remember when the girls take their delicious Christmas breakfast to their poor starving neighbors? No? Well, anyway, I had never eaten a popover until our trip to Washington DC last fall. We had dinner at BLT Steak on our first evening there. They served these crazy delicious popovers with our meal, and, after the dessert dishes had been cleared away, gifted us with small bag containing 2 more AND the recipe! How awesome!
I just got around to trying the recipe yesterday. We don't own a popover pan, so I substituted with some oven safe custard cups on a sheet pan. It worked out well, but I may pick up a pan in the future. I was surprised by how well these turned out. They were very close to what we had at BLT. The ingredients and procedure are both very simple, but the outcome just seems so...magical. As they bake, the steam trapped inside causes them to puff up and pop over the top (hence the name). Please keep in mind that I cut the following recipe in half, and still had batter left over. Plan accordingly!
BLT Steak Popovers (makes 12)
4c milk
8 eggs
4c flour
1.5 T salt
2c grated Gruyere cheese
Place the popover pan (or oven safe custard cups on a baking sheet) in the oven, and heat the oven and pan to 350. Gently warm the milk over low heat and set aside. Whist the eggs until frothy, and slowly whisk in the milk (be careful not to cook the eggs!). Set the mixture aside. Sift the flour with the salt. Slowly add this dry mixture and gently combine until mostly smooth.
Once combined, remove the popover pan from the oven and spray with non-stick vegetable spray. While the batter is still slightly warm or at room temperature (not cold!), fill each popover cup 3/4 full. Top each popover with approximately 2.5T of cheese. Bake at 350 for 50 minutes, rotating the pan half a turn after 15 minutes. Remove from the oven and serve immediately with soft butter.
I just got around to trying the recipe yesterday. We don't own a popover pan, so I substituted with some oven safe custard cups on a sheet pan. It worked out well, but I may pick up a pan in the future. I was surprised by how well these turned out. They were very close to what we had at BLT. The ingredients and procedure are both very simple, but the outcome just seems so...magical. As they bake, the steam trapped inside causes them to puff up and pop over the top (hence the name). Please keep in mind that I cut the following recipe in half, and still had batter left over. Plan accordingly!
BLT Steak Popovers (makes 12)
4c milk
8 eggs
4c flour
1.5 T salt
2c grated Gruyere cheese
Place the popover pan (or oven safe custard cups on a baking sheet) in the oven, and heat the oven and pan to 350. Gently warm the milk over low heat and set aside. Whist the eggs until frothy, and slowly whisk in the milk (be careful not to cook the eggs!). Set the mixture aside. Sift the flour with the salt. Slowly add this dry mixture and gently combine until mostly smooth.
Once combined, remove the popover pan from the oven and spray with non-stick vegetable spray. While the batter is still slightly warm or at room temperature (not cold!), fill each popover cup 3/4 full. Top each popover with approximately 2.5T of cheese. Bake at 350 for 50 minutes, rotating the pan half a turn after 15 minutes. Remove from the oven and serve immediately with soft butter.
Thursday, December 23, 2010
Holiday Treats!
Edible gifts! I made an assortment of candy and baked goods and packed them up for my coworkers. Why yes, those are Applebees Car Side To Go takeout containers. I like to wash and re-use sturdy takeout containers when I give food to people. That way, I don't have to worry about pestering anyone to return my tin or tupperware. I spruced things up a bit with some festive tissue paper and cute labels. As for what is inside:
Million Dollar Fudge (I used a recipe from Ed's great grandma Ida, this one is similar), mini Pumpkin Apple Loaves (from the Gourmet magazine cookbook), and Salted Butter Toffee. I didn't really have time to make all of this the night before taking these packages to work(who does?), so everything was made ahead of time and frozen or carefully stored. This is a whole lot of sweet stuff, so I decided to include a package of seasoned oyster crackers as a savory treat.
This is probably my last post before Christmas, so Holiday Felicitations to you and yours!
Million Dollar Fudge (I used a recipe from Ed's great grandma Ida, this one is similar), mini Pumpkin Apple Loaves (from the Gourmet magazine cookbook), and Salted Butter Toffee. I didn't really have time to make all of this the night before taking these packages to work(who does?), so everything was made ahead of time and frozen or carefully stored. This is a whole lot of sweet stuff, so I decided to include a package of seasoned oyster crackers as a savory treat.
This is probably my last post before Christmas, so Holiday Felicitations to you and yours!
Saturday, September 4, 2010
A grain free, gluten free (but not taste free!) cake
My parents's birthdays were at the end of July and the end of August. I was unable to celebrate with them during those times, but they are visiting this weekend. So, I decided to throw together an impromptu belated birthday dinner!
I wanted to make a cake for the occasion, but sugar content is a concern because my mom is diabetic. Enter the grain-free gluten-free chocolate cake recipe from Emily at Joyful Abode! This cake looked totally scrumptious when I saw it on her blog a couple of weeks ago. It was super easy to make (I knew it had to be, Emily threw it together shortly after having her first baby), and, most importantly, I had all of the ingredients on hand.
I thought this would be a super dense cake, but it was surprisingly light. My ganache turned out a little on the thin side, so I just spread it across the top and let it drip over the sides. The cake went over very well, and I found it to be especially delicious after being in the refrigerator overnight.
If you haven't already, check out Joyful Abode. Emily posts a lot of healthy recipes, crafty stuff, plus super cute photos of new baby Anneliese!
Sunday, August 29, 2010
Baking for Your Dog
![]() |
| Waiting patiently for cookie. |
![]() |
| Cookie? What cookie? I see no cookie here. |
![]() |
| Almost time for cookie... |
![]() |
| I GOT COOKIE!!! |
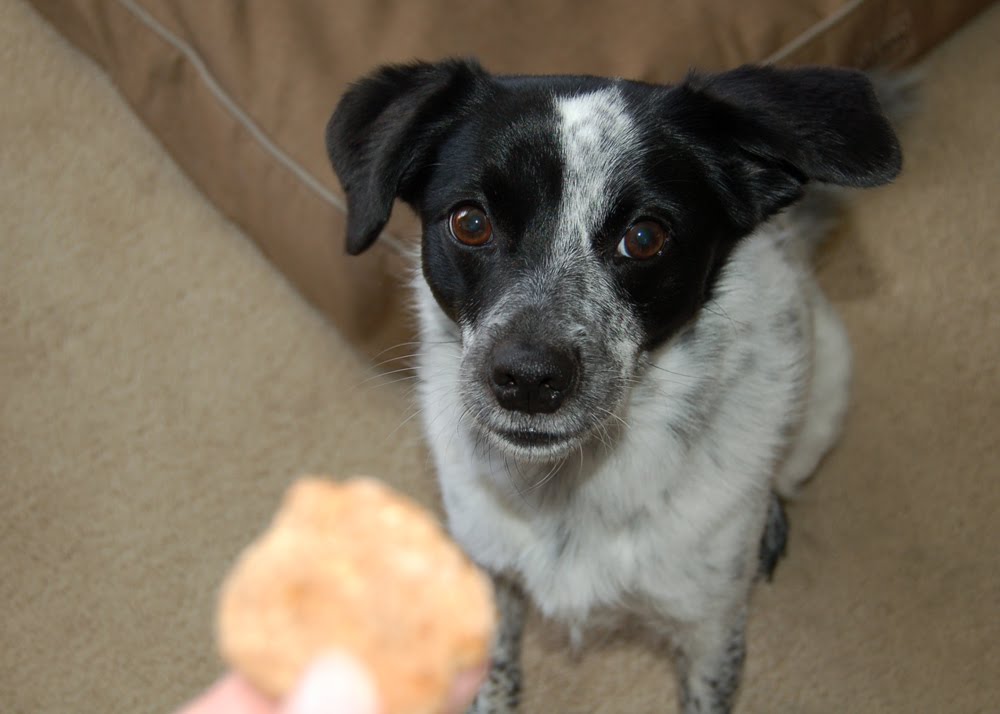
I love my dog, and I love to give her treats. I try to be careful about the type of treats I purchase, and usually go for the more nutritious and high quality stuff. But, high quality = high price. So, I decided to try my hand at making dog treats. As you can see, they are a success. Baking for your pets is easy, pretty inexpensive, and you get to control exactly what goes into the finished product. Here are a couple of my favorite dog treat recipes.
Apple Cinnamon Puppy Cookies (pictured above)
1 large apple
1/4 cup honey
1/2 cup water
1/2 tsp. cinnamon
1 cup oatmeal
1 1/2 cups wheat flour
Pre-heat oven to 350. Peel, core, and mince apple (use a food processor or chopper if you have one). In a large bowl, combine apple, honey, water, cinnamon, and oatmeal. Gradually blend in wheat flour to form a stiff dough.
Flour your hands, take a rounded teaspoon of dough, and roll it into a ball. Flatten the ball to form a small patty. Place patties on an un-greased cookie sheet, and bake for 20 minutes. Flip each cookie over, reduce oven temperature to 325, and bake for another 20 minutes. Allow to cool completely before storing in an airtight container.
Cheese Dog Biscuits
1/2 cup grated cheddar cheese
1/2 cup grated parmesan cheese
3 Tbsp. vegetable oil
1 1/2 cups flour
1/2 cup powdered milk
2 tsp salt
1/2 cup water
Pre heat oven to 350. Mix cheeses with oil. Add flour, powdered milk, and salt, and stir until well blended. Add water, and mix until a stiff by pliable dough forms.
Roll out your dough to 1/4" thick. Cut into desired shapes with a cookie cutter. Place on a baking sheet that has been lightly sprayed with cooking spray. Bake for approximately 15 to 20 minutes on each side, until golden brown. Cool on racks, and store in an airtight container.
Tips:
-Adjust the size of your treats according to the size of your dog.
-Neither of these recipes contain any sort of rising agent (baking soda, baking powder, etc). Because the cookies do not expand, you can crowd them pretty close together on your baking sheets. You're basically just drying them out in your oven.
Happy Baking!
Monday, December 8, 2008
Basic Banana Muffins and Baz Biz Cleveland
Between working on the Fill-a-Box swap on Craftster, Thanksgiving, and working retail during the holiday season, I haven't had much time for my little blog. But! Thanksgiving is over, and my swap package is safely on its way to my partner. I still work retail. Two out of three ain't bad (at least I still have a job, right?). I have a few projects in the works for Christmas, thus, more to blog about.
I did manage to squeeze in a little baking over the weekend. These muffins are great to make when you have a few bananas that have gone spotty on you. You can just make the basic recipe, or add mix ins to jazz it up.

Basic Banana Muffins (makes 24 standard sized muffins)
2 c all purpose flour
2 1/2 t baking powder
1/2 t baking soda
1 t cinnamon
1/2 t salt
1 c white sugar
1/2 c softened butter
1 c mashed banana
2 eggs
6 T milk
mix ins (optional. You could try nuts, dried cranberries, etc. I used about 6oz of chocolate chips)
Pre-heat oven to 350 degrees. Prepare muffin pans with cupcake papers or shortening. Mix flour, baking powder, baking soda, salt, and cinnamon in a medium sized bowl and set aside. In a larger bowl, cream butter and sugar. Add eggs and mix until smooth and fluffy. Mix in milk and mashed banana. Fold dry ingredients into wet ingredients until just combined, and then fold in mix-ins if desired. Fill each muffin cup 2/3 of the way full. Bake for 20 to 30 minutes.

Enjoy on a pretty plate with a mug of your favorite tea.
One last thing! If you're in the area, you should really check out Bazaar Bizarre Cleveland this weekend. Shop over 70 vendors from noon until 9pm on Saturday, noon until 6pm on Sunday. Visit their website for more details.
I did manage to squeeze in a little baking over the weekend. These muffins are great to make when you have a few bananas that have gone spotty on you. You can just make the basic recipe, or add mix ins to jazz it up.

Basic Banana Muffins (makes 24 standard sized muffins)
2 c all purpose flour
2 1/2 t baking powder
1/2 t baking soda
1 t cinnamon
1/2 t salt
1 c white sugar
1/2 c softened butter
1 c mashed banana
2 eggs
6 T milk
mix ins (optional. You could try nuts, dried cranberries, etc. I used about 6oz of chocolate chips)
Pre-heat oven to 350 degrees. Prepare muffin pans with cupcake papers or shortening. Mix flour, baking powder, baking soda, salt, and cinnamon in a medium sized bowl and set aside. In a larger bowl, cream butter and sugar. Add eggs and mix until smooth and fluffy. Mix in milk and mashed banana. Fold dry ingredients into wet ingredients until just combined, and then fold in mix-ins if desired. Fill each muffin cup 2/3 of the way full. Bake for 20 to 30 minutes.

Enjoy on a pretty plate with a mug of your favorite tea.
One last thing! If you're in the area, you should really check out Bazaar Bizarre Cleveland this weekend. Shop over 70 vendors from noon until 9pm on Saturday, noon until 6pm on Sunday. Visit their website for more details.
Labels:
baking,
craft fairs
Subscribe to:
Posts (Atom)